Showing posts with label Sally Hansen. Show all posts

Saturday, November 9, 2013

Gobble Gobble! - Thanksgiving nails

Hello everyone!!

It has been a long time, but I'm back!

Today I have a Thanksgiving manicure for you all!! I really wanted to get a head start on the holiday manis! I had an image in my head and it transferred nicely onto my nails!! Success!


I have ever really been one to do holiday nails, but hey there is always room for change! I used plenty of polishes, so lets jump into it!

Pinkie and thumb- Zoya Tomoko
Index and middle- Zoya Louise
Turkey- Revlon Revlon Red
             Sally Hansen Mellow Yellow and Sun Kissed
             OPI Alpine Snow
             Wet N' Wild Black Creme
             Zoya Louise


I can't wait to keep working on more themed manicures! Thank you so much for sticking with me, even when nails go on the back burner for a little while! It means a lot to me!!

XOXO,
Rachel

Friday, August 2, 2013

Monthly Haul- July!

Hey everyone!

Today I have another haul to show you guys! Almost everything that I bought in July was on sale!! For everything that I am about to show you, I paid approx. $38.00! Retail value of these polishes is about $94.00! I saved a total of $56.00! Thats impressive if I do say so myself!!


First up we have Sally Hansen Fuzz-Sea, Sinful Colors Sail La Vie, Essie Naughty Nautical and The Girls Are Out, and Pure Ice Private Show


I purchased all these at Sally's Beauty Supply for $10!!!! Top to bottom we have China Glaze White Cap, Blue Iguana, Hanging in the Balance, Running in Circles, Water You Waiting For?, and Aquadelic, Orly Spazmatic and Can't Be Tamed, and Finger Paints Fishin' For Fun


Lastly we have the Wet n' Wild Pop Art Collection! These were on sale and I purchased them all for about 4 dollars. Left to right, Teal Slowly and See, Listening to Blue Reed, Stand the Test of Lime, Who is Ultra Violet?, A Blank Canvas, and The Clock Strikes Orange

I'm pretty happy with this haul!! Thanks for stopping by!!


Saturday, July 6, 2013

Funky French!

Hey everyone!

Today I have a fun french manicure for you all! French tips aren't really my thing, but I thought I would give it a shot! I decided to do a striped french!


I decided to use some beachy props! I thought they were theme fitting!

For this look I used the colors:
Revlon Dreamy
OPI I Saw... U Saw... We Saw... Warsaw
China Glaze Aquadelic
China Glaze Hanging in the Balance
Sally Hansen Breezy Blue

I taped off the tip of my nail and used a small detail brush to make the stripes.


I'm extremely happy with the way these came out! I might have to try something similar with a different color scheme!
Here is an artsy pic for ya! I really like this!


Thanks for reading!


Sunday, June 30, 2013

Monthly Haul! June!

Hey everyone!

Today I have my monthly haul for you all! I can't even believe that June is coming to a close! It just flew by!

 Well Lets jump right into it!


First up we have the Kleancolor Candy Cast mini collection! The names are just neon and then the color of the polish, (ex. neon blue, neon yellow, etc).


Just look at that!! This is Urban Outfitters Mystic! It is absolutely gorgeous!!


LtoR: Essie Splash of Grenadine, Cute as a Button, and Sally Hansen Sun Kissed. I absolutely love these colors!


Last but not least we have Kleancolor Chunky Holo Candy, Chunky Holo Purple, and Sangria Burst.

What do you guys think about me posting hauls? Do you like it? What colors would you like to see me use in a mani? Thanks for reading!


Monday, June 17, 2013

Sally Hansen- Wine Not

Hello everyone!

Today I have an amazing color from Sally Hansen called Wine Not! Now this isn't the most fitting color for summer.. but hey, it is GORGEOUS! I have had this polish for quite some time now and have never used it. It was a polish that I wasn't too fond of.  I picked it up a few days ago and I suddenly thought why not just try it out!


I'm in love! I think it looks stunning! It is the perfect wine/berry color! This polish is also just a hint of a metallic polish, and I love the shimmer in it! Shown is three easy coats with no top coat.


I can't stop drooling! I didn't think I would fancy this color. I was wrong! What do you think? Thanks for reading!


Saturday, June 15, 2013

Nail Care Series! Part 4- Top Coats

Good morning everyone! Today I have the last installment of my nail care series. Top coats!


Just like base coats, top coats are also essential! They will make your manicure last longer and give your nails a beautiful shine!

INM Out The Door

I'm going to start off with my all time favorite top coat at the moment, Out The Door! I absolutely love this stuff! It is a fast drying top coat that dries nail color in less than 60 seconds! Out The Door is also one of the thinner fast drying top coats, so it doesn't get thick and hard to work with half way through the bottle! I have never used Seche Vite, but I've heard that it shrinks your polish, meaning after application, the nail polish pulls away from the tips of your nail. Out The Door does not have that downside! No shrinkage here! I absolutely love this and would recommend it to anyone! This can be purchased at your local beauty store, such as Sally Beauty Supply, and online. Recently I have seen this product at my local Walmart  too!


Sally Hansen Insta-Dri

This top coat is another one of my top picks! I used this top coat before I discovered Out The Door. When I was using this for every mani that I did, I went through at least 4 bottles, maybe 5. I only made it through about half of the bottle though because it would get thick and clumpy, which was a downside. This is a fast drying top coat, but I find that since it was on the thicker side to begin with, it took a little longer to completely dry. In about a minute it would be dry to the touch, but I would wait at least an hour before I did some thing that could potentially mess up my nails, the reason being that my polish/top coat would get little dents in them. Other than that I love this topcoat and I would recommend it! This can be purchased at your local Walmart, or online.

Essie No Chips Ahead

This top coat by Essie is another one of the many top coats I have tried. I can't say that I loved this product, but it was ok. It did dry fast which was a good thing. The name of this product is No Chips Ahead, which I found odd. This being that that was the problem I had. I would notice chips in my polish within at least 24 hours of application, which was disappointing. I also found that there would be tiny scratches in my polish, which would give my nails a weird texture to them. I don't know if you would have the same problems, so why not give it a shot! This can be purchased at any drugstore, or online.


NYC Matte Me Crazy

A matte top coat!! This product can be used over any polish and will take that shine away to give it a matte look! I think that this one gets the job done! It also retail for about 2 dollars, which is almost a steal! I've never tried any other matte top coats, but I don't plan on it because this one does the trick for me! A plus side to any matte top coat is that they dry super fast! You can also play around with a matte top coat and get some really cool designs on your nails! This can be purchased at your local drugstore, Walmart, or online!


Gelous

This topcoat will give you the look of gel nails without having to go to the salon! Use a coat of this under your nail polish, and a coat over your polish, and your good to go! This topcoat is also super shiny, and will make your mani last longer! I really have no idea what brand this is. It is just the top coat with the green lid! :P If anyone knows, tell me in the comments below! I purchased this at my local Sally Beauty Supply, but this can also be found online!


So that is my two cents about top coats! I think they are essential for any mani, plus they add some super shine! This was the last part of my nail care series! I really hope that you all enjoyed this! I had fun typing everything up! Thanks for reading, and have a great day!


Thursday, June 13, 2013

Blue Swirly Stamps!

Hey everyone!

Today I have another stamping attempt to show you guys! I really loved this design, BEFORE i put top coat on it!! Oh the smudgery.. :p I should have taken pictures pre top coat.. oh well!


I love this! I started with a base of Sinful Colors Sugar Rush. Then I stamped using Bundle Monster plate BM19. I randomly dropped a little bit of Sally Hansen Blue Me Away and OPI I saw... U saw... We saw... Warsaw onto the image, scraped away the excess polish, and picked up the random design! The Bundle Monster 1st generation plates are too small for my thumb.. so I didn't get the whole image onto my nail.


I think that this reminds me of a fake watermarble! It looks so cool! What do you think about it? Thanks for stopping by and reading!


Saturday, June 8, 2013

Nail Care Series! Part 3- Base Coats

Hello everyone! Today I have part three of my nail care series for you all!


Base coats! These little guys are essential, but there are ups and downs to some of them! Keep reading to find out what I think of these base coats!


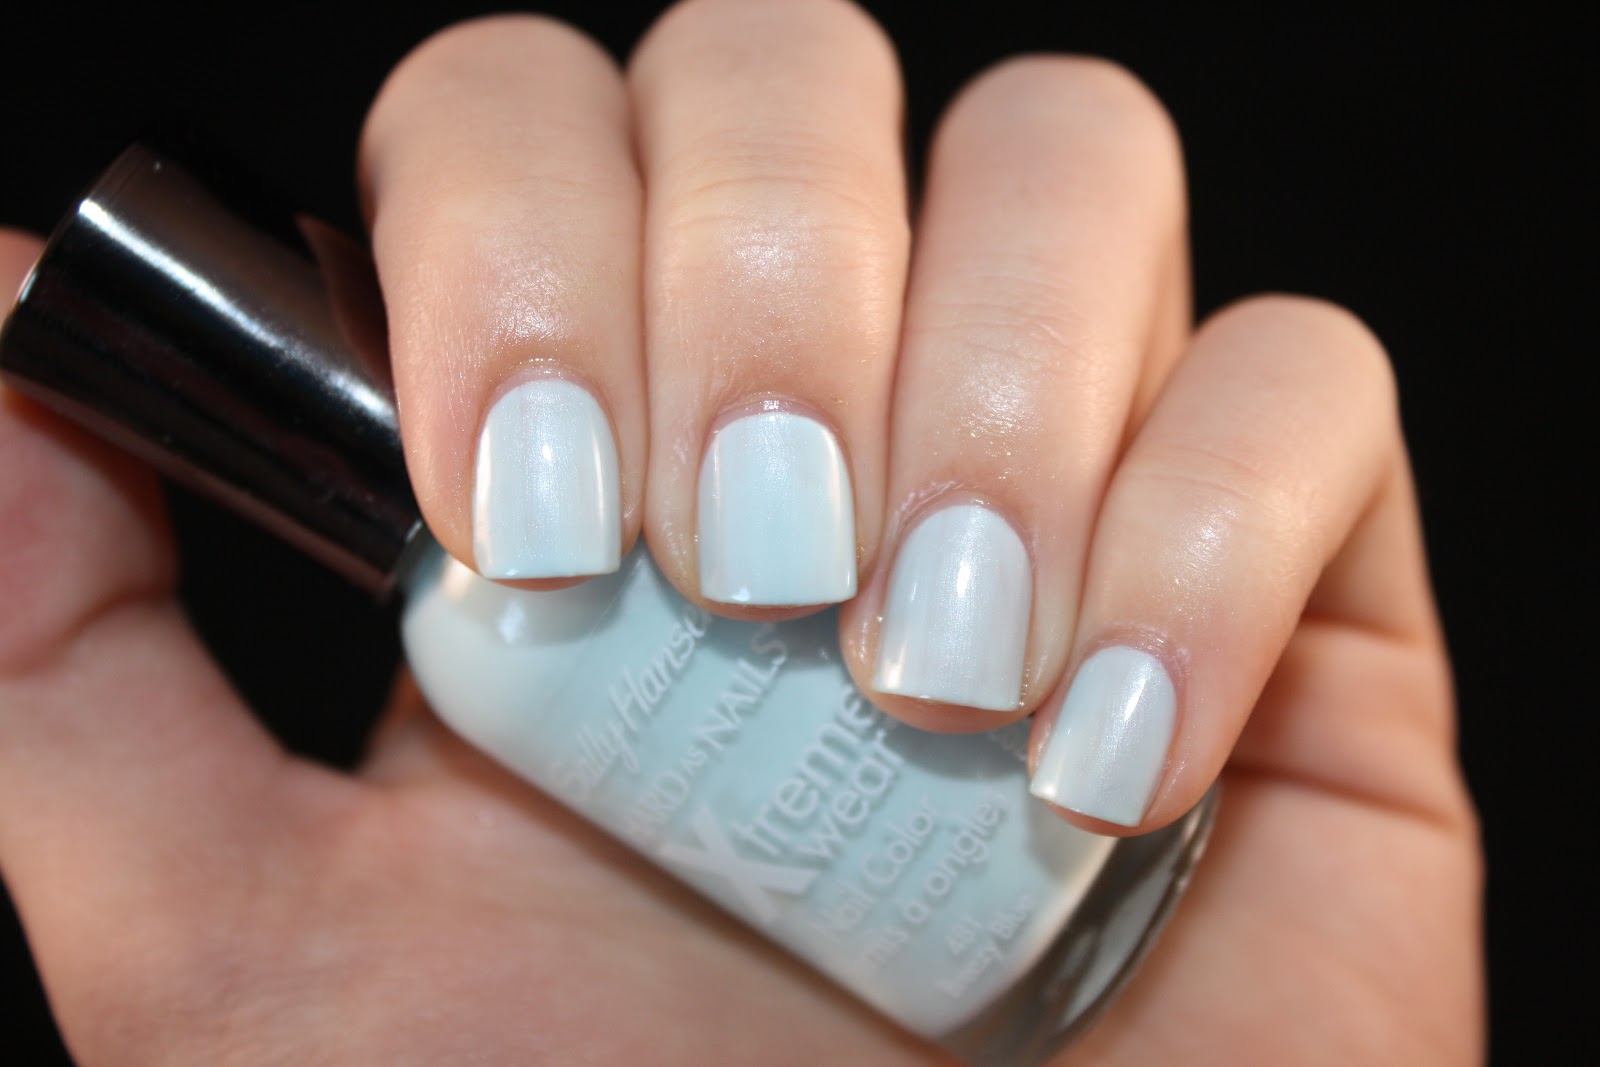
Sally Hansen Hard as Nails Base Coat

As we all know, Sally Hansen makes about fifty-thousand different base and topcoats. The Hard as Nails base coat is the one I ended up with! I actually really like this base coat. In fact, I have two! This base helps prevent splitting, chipping, and cracking. It also hardens your nails, which is one thing that I really like about this product. Sometimes my nails feel quite thin and brittle, so I slap a coat or two on my nails, and they immediately feel stronger. This product can also be used as a top coat, but I prefer to just use it as a base. I have nothing but good to say about this base coat! This product can be purchased at your local Walmart, or online.


Duri Rejuvacote

Two words. Duri. Rejuvacote. I absolutely love this product! A couple months back, some ladies on Instagram had been raving about it, so I thought I would give it a shot! The Duri Cosmetics website says that Rejuvacote will heal and cure your split, cracked and acrylic eaten nails. In a matter of weeks you will enjoy the look and feel of strong, vital, natural nails. I use this before every mani that I do. Although this product looks pink in the bottle, it dries clear after application. This product can also be used as a top coat, but like I said about the previous product, I like to use this one as a base. You can buy this product at Walmart or online for about 15 dollars. Even though it might be a little steep, it is worth every penny!


Essie Grow Stronger
Whenever I first started to take base coats seriously, this is what I used. I love this base! It's like most base coats, strengthening, damage repair and prevention, the usual. I used this until it got gloopy and I couldn't get any product on my brush because it was almost completely empty. As you can see in the bottle, it looks a little milky. The milkiness of this product does transfer onto the nail, but the opacity isn't as strong. I would definitely recommend this product to someone! This can be purchased at Walgreens, CVS, most drugstores, and online. 


OPI Nail Envy

OPI has about 7 or 8 different versions of Nail Envy, but when I purchased this, I just picked up the original version. I love this product, and after about two or three weeks of using this, I could tell a difference in the health of my nails. Like seriously. I had tried various nail treatments, and this product started to make a difference. Just like Grow Stronger, I used this baby up! I literally did everything I could to get the last little bit of product out! Again I say, I would recommend this product to anyone. If you don't like shiny nails, then try the matte version! Go get you some!! This does retail kinda pricey, but you get the bang for your buck! This can be purchased at select salons, Ulta, and online.


Essie All In One 

This was one of the many nail treatments I tried while trying to get my nails healthy. All In One can be a base or top coat, and is a strengthener. I personally have had a bad experience with this product. I used it as a base, and I noticed that every time I used it, my polish would chip faster than normal. This also made my nails worse. My nails were pretty bad, and then they worsened. I was like nooooo!!! I still continued to use it, to see if it was the kind of thing that got worse before it got better, but no, that wasn't the case. Feel free to try this out for yourself, because not everyone has the same results. This can be purchased at drugstores and online.


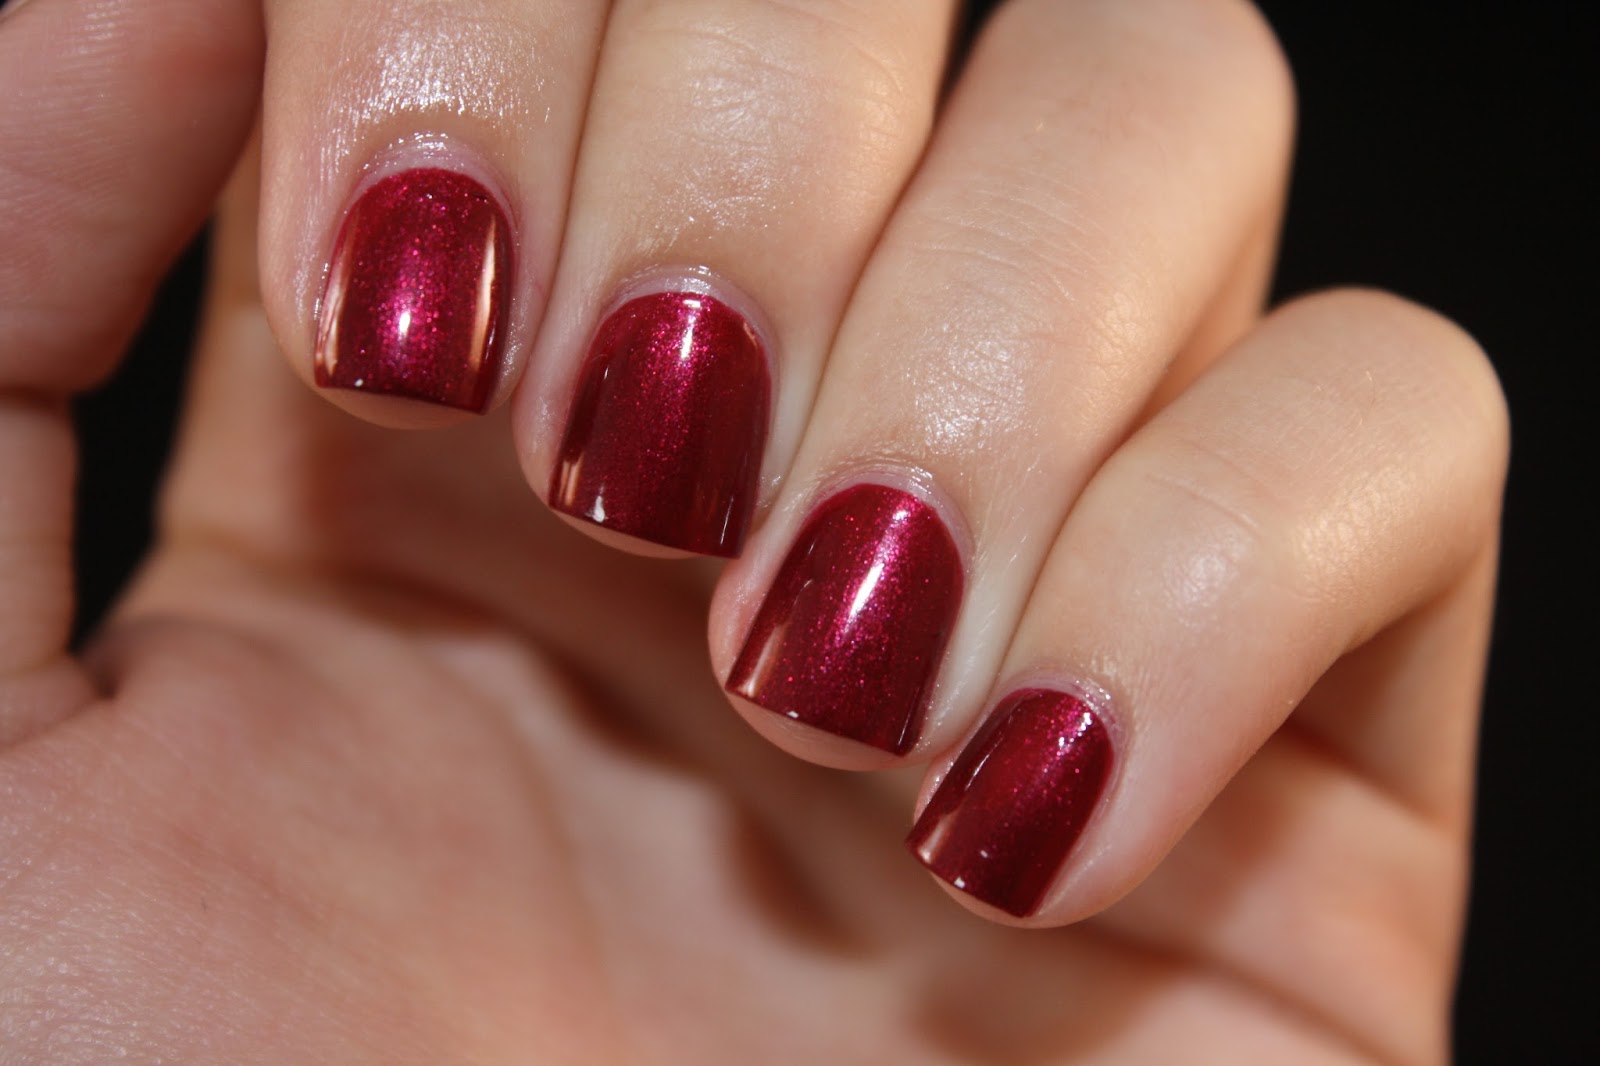
Another base that I like to use, is PVA glue, a.k.a Elmer's Glue. This is excellent to use under glitter polishes. Remember when you were a kid and you put glue on your hands just so you could peel it off when it dried? Well the same effect happens here. Use a thin base of glue, then use polish and topcoat. Use a cuticle pusher to get under the glue and it pops right off! Click here for an awesome tutorial at Wacky Laki! This method doesn't have to be used for just glitter, it will work with regular polish too! 

Thank you so much for reading this! Stay tuned for next week's part of the series! I'll be talking about my favorite top coats! I hope you enjoyed this post!


Friday, April 26, 2013

Blue Nails for Autism- #4

Hey everyone!!

You know, I'm gonna miss doing blue nails every friday! Today is the last installment of Blue Nails for Autism. I think I am going to have to figure out something to do every Friday in the months ahead!

So for today I just have a pretty light blue polish with some shimmer in it. Sally Hansen Breezy Blue is beautiful!  Shown is three thin coats, and it goes on like a dream! Oh and other good news, my nails are finally back to being squared!!


Isn't it pretty!?!?!? On a side note, I used the Blue Cross Cuticle Remover from Sally's for the first time and I must say I am in love! If you don't have it, you need to go buy it! 5 bucks for a 16 oz. bottle, and it will last for forever!!


Thanks for stopping by!